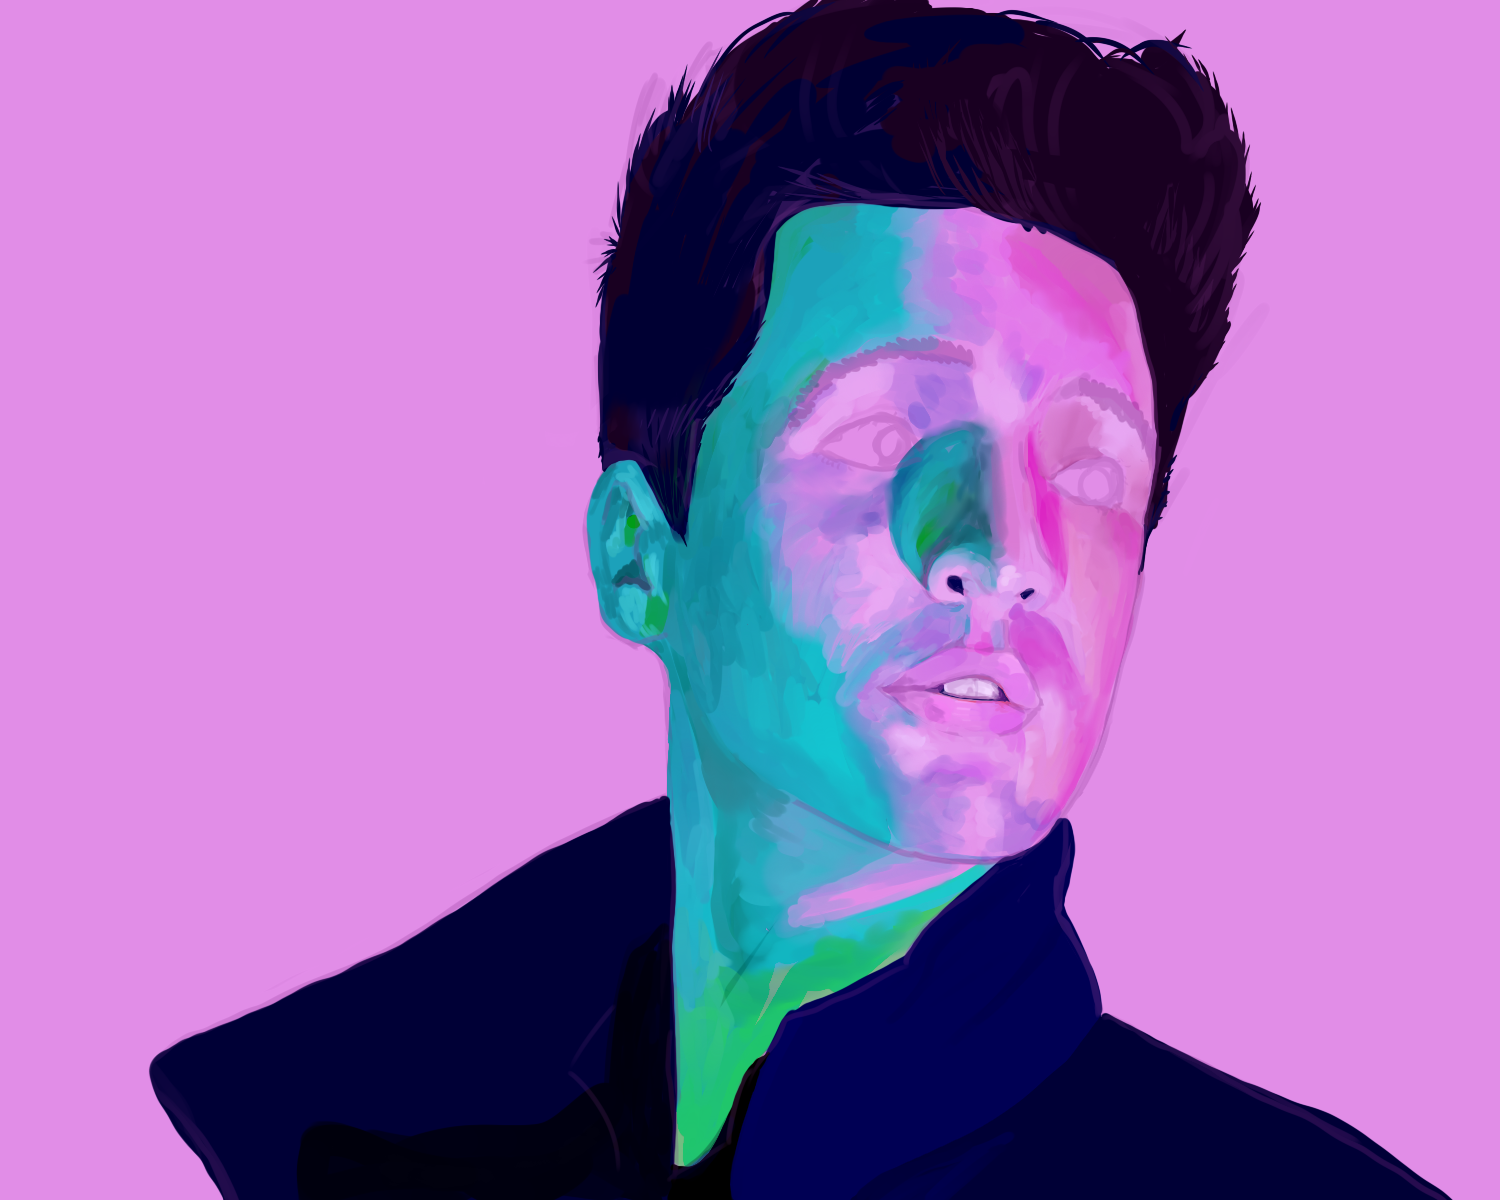
Brendon Urie Portrait Study
PaintTool SAI, Wacom Cintiq Pro 16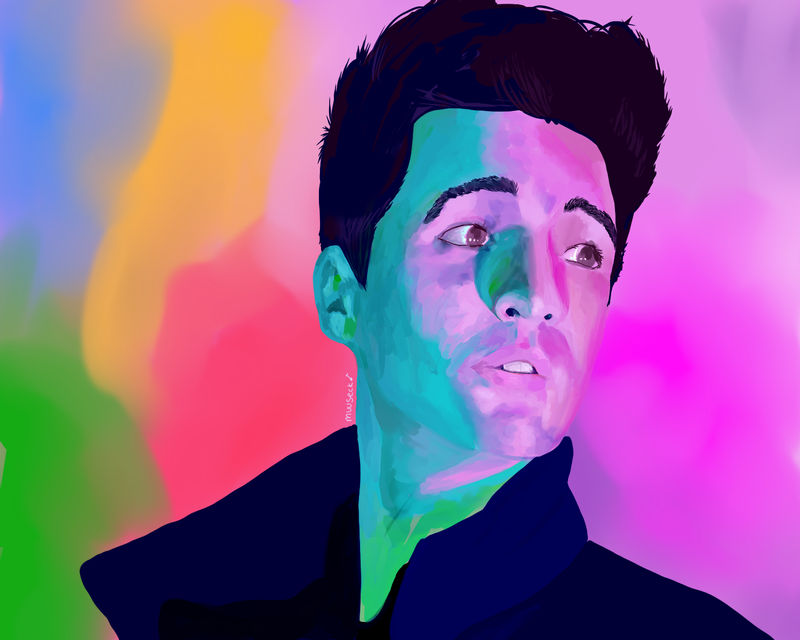
GOAL: Create a realistic portrait that utilized a unique color scheme.
APPROACH: Since this was a study primarily for practice, I looked for images of the lead singer of Panic! at the Disco, Brendon Urie. This was the first image in which I utilized the marker tool with my new tablet, and I liked the result.
SOLUTION: Once I found a suitable image, I spent several hours getting the shape of the face right, and blocking out colors. Then I filled in detail and the background.
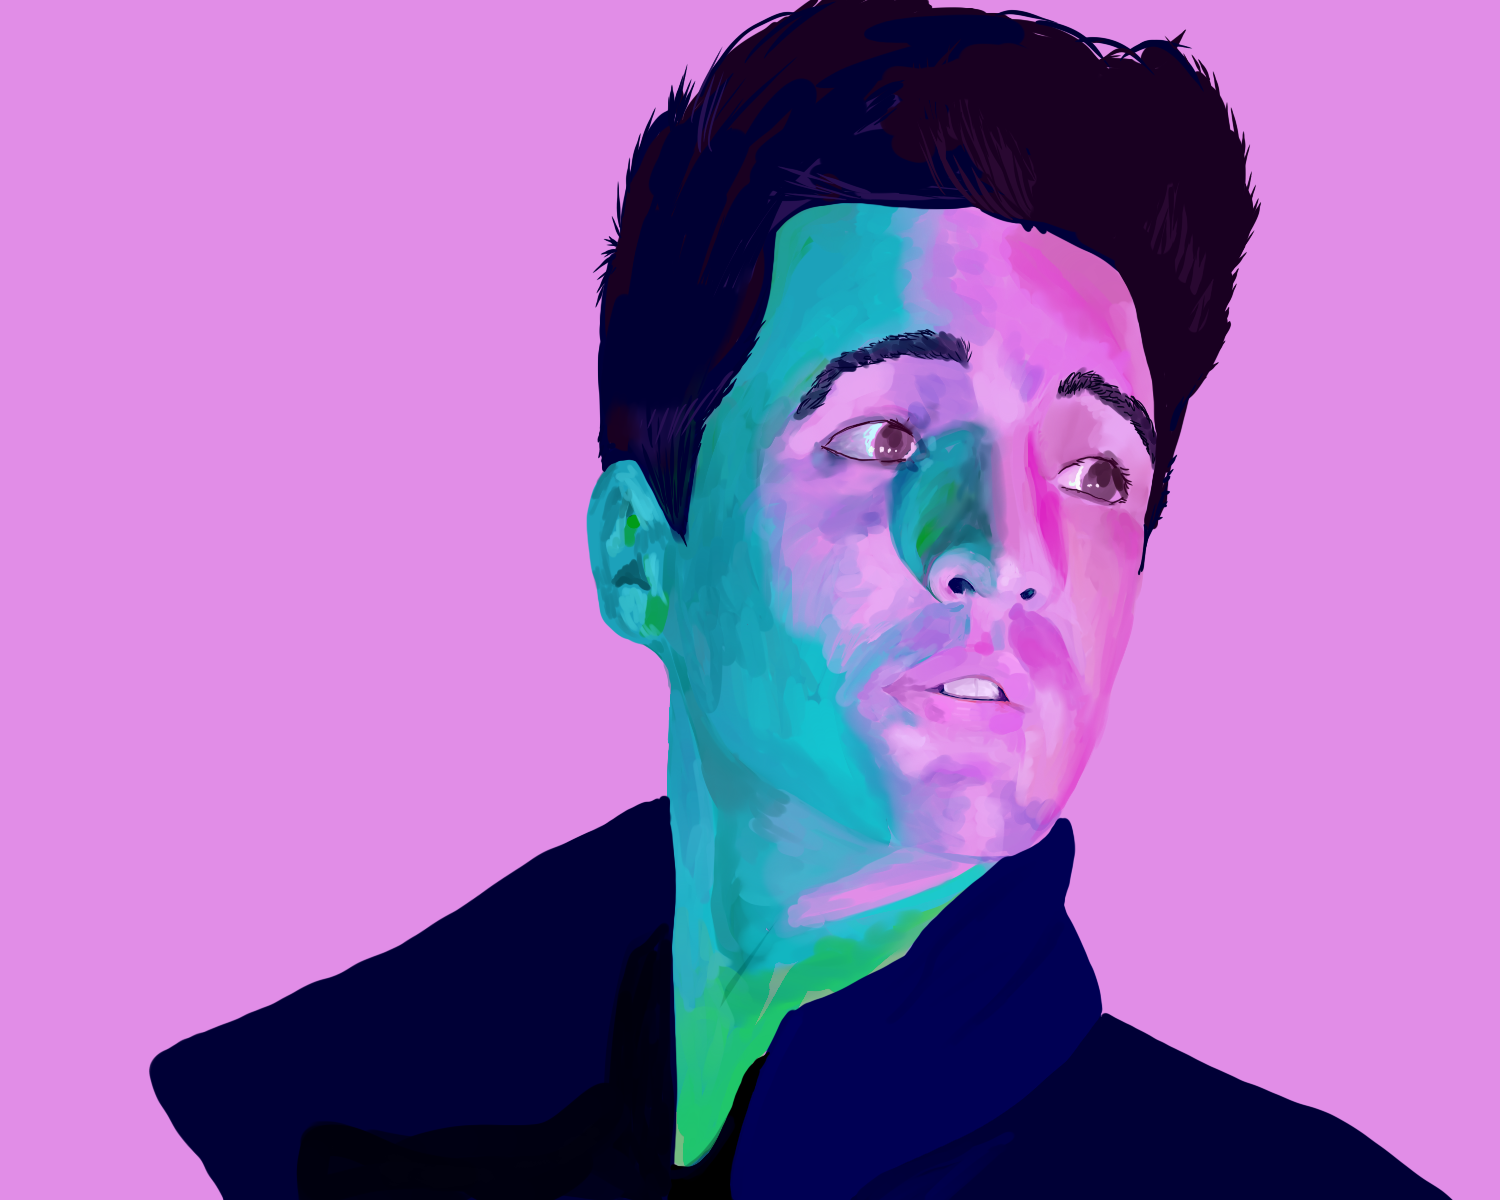
Background & Final Product
I love digital painting, specifically portraits. I painted this portrait to practice unique lighting and a vivid color palette. I used a Wacom tablet and PaintToolSAI.
Note: I don't own the image that I used as a reference; this was purely for practice.
Process
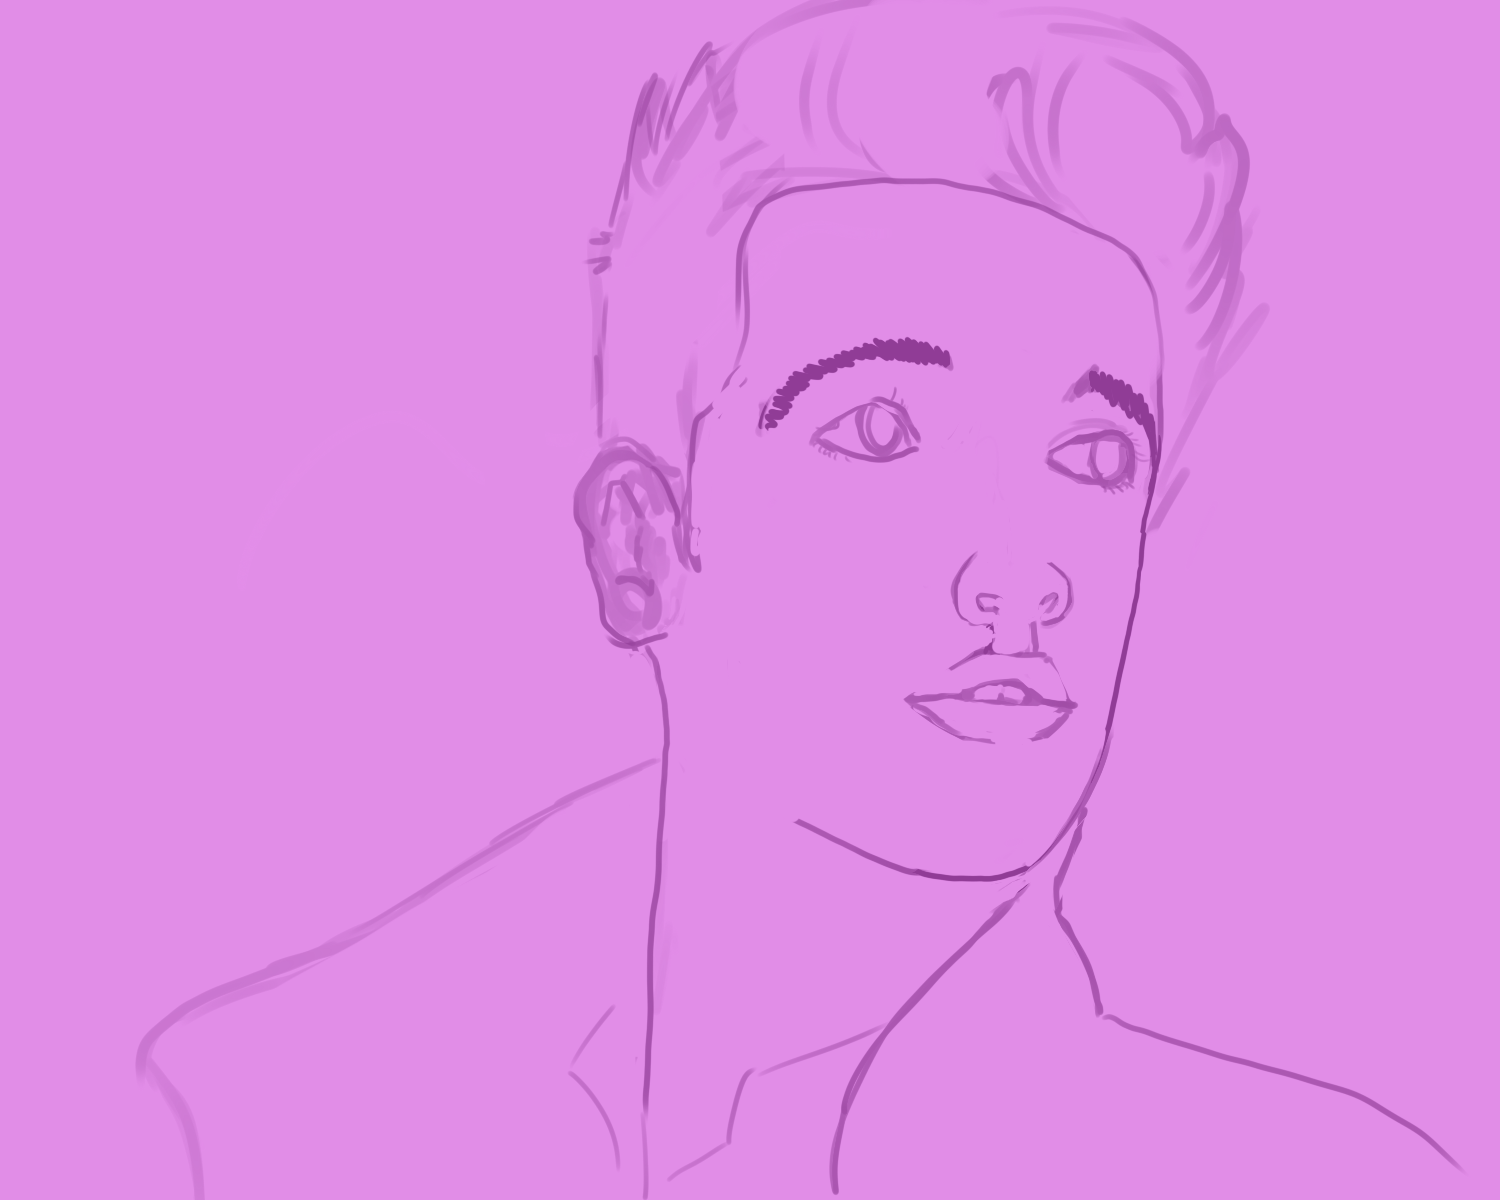
I start all of my illustrations with an outline. I grew up learning how to draw using a pencil and paper, and I still find it easiest to get the rough idea of my art using this simple two-tone idea. However, for digital paintings, I do the sketch in PaintToolSAI or Photoshop first, and then add color later.
You can see here that it took me a few tries to get the face shape exactly right. I did a few iterations and got feedback from other artists about how my proportions were incorrect.
Line Art Sketch
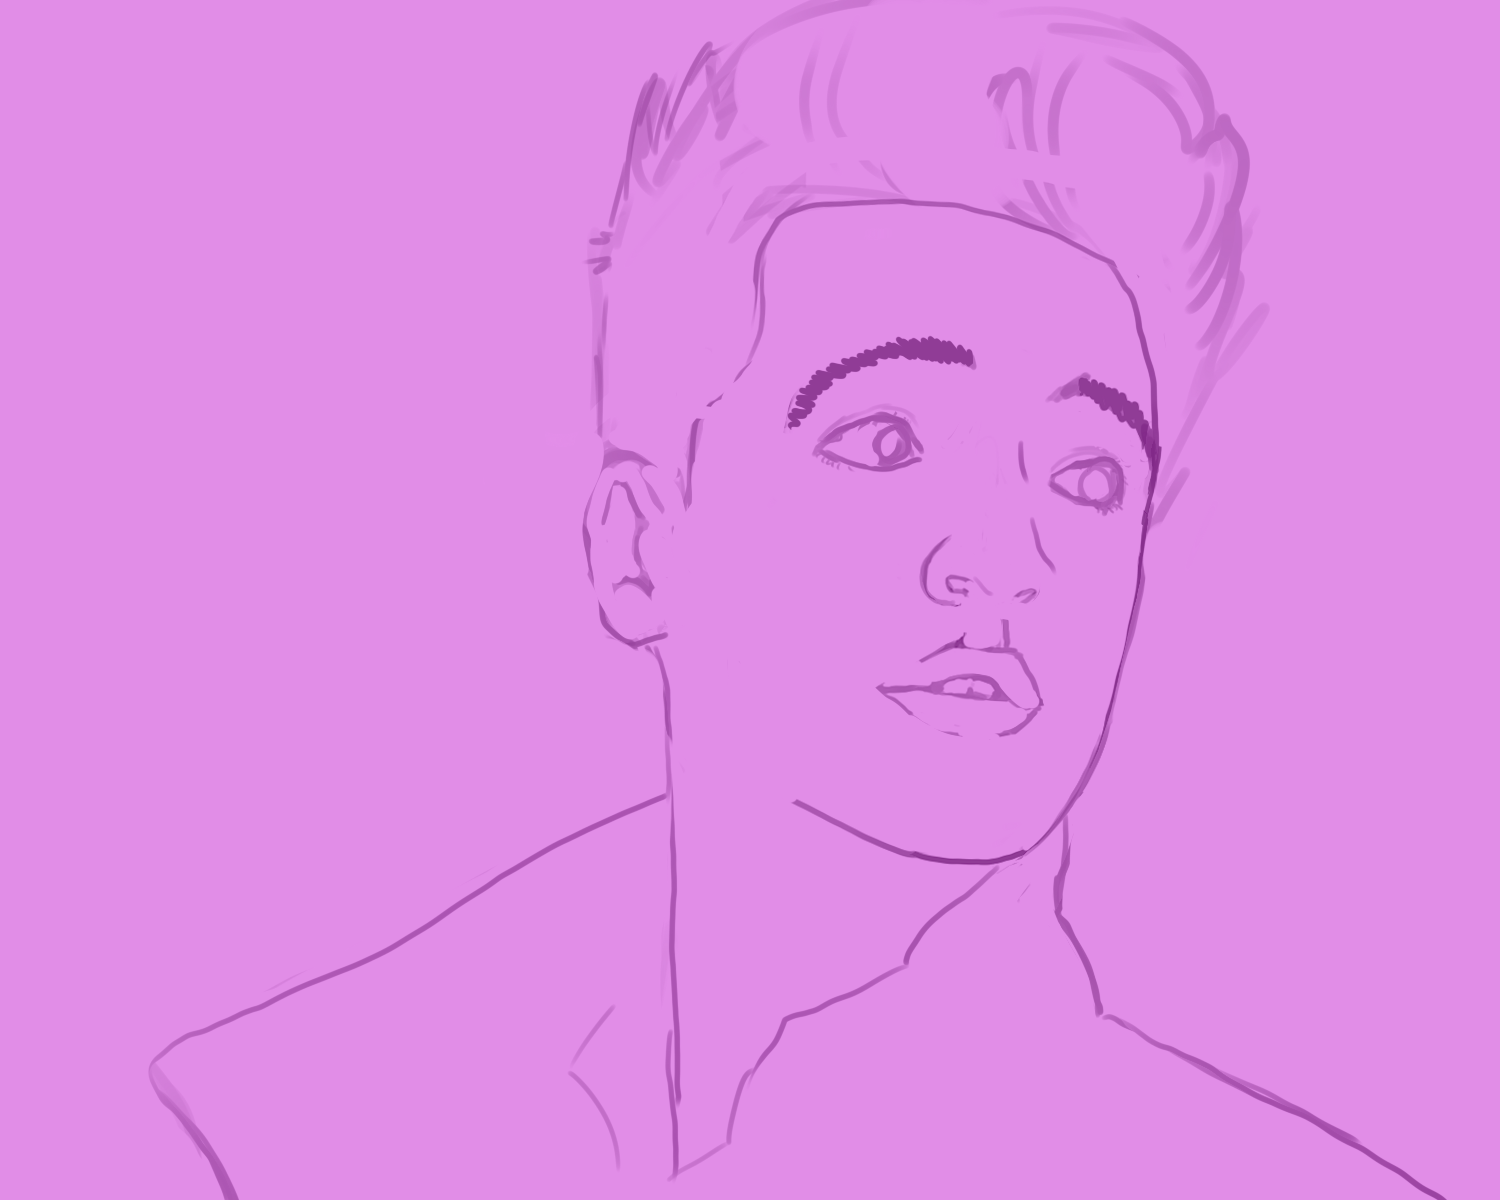
Base Skin Highlights & Shadows

I like to put a color other white as the background for my illustrations. It helps me see the colors more clearly and ends up with a more interesting result.
I put down color layer by layer, building it up with the marker tool. I like to work with highlights and shadows on the same layer so that blending is possible, and it feels more like traditional art, which is what I originally learned in my schooling.
I include the sketch when I need to get the shape exactly right, but for shadows I like to work without the line art so that the lines don't confuse my eye with its tones.
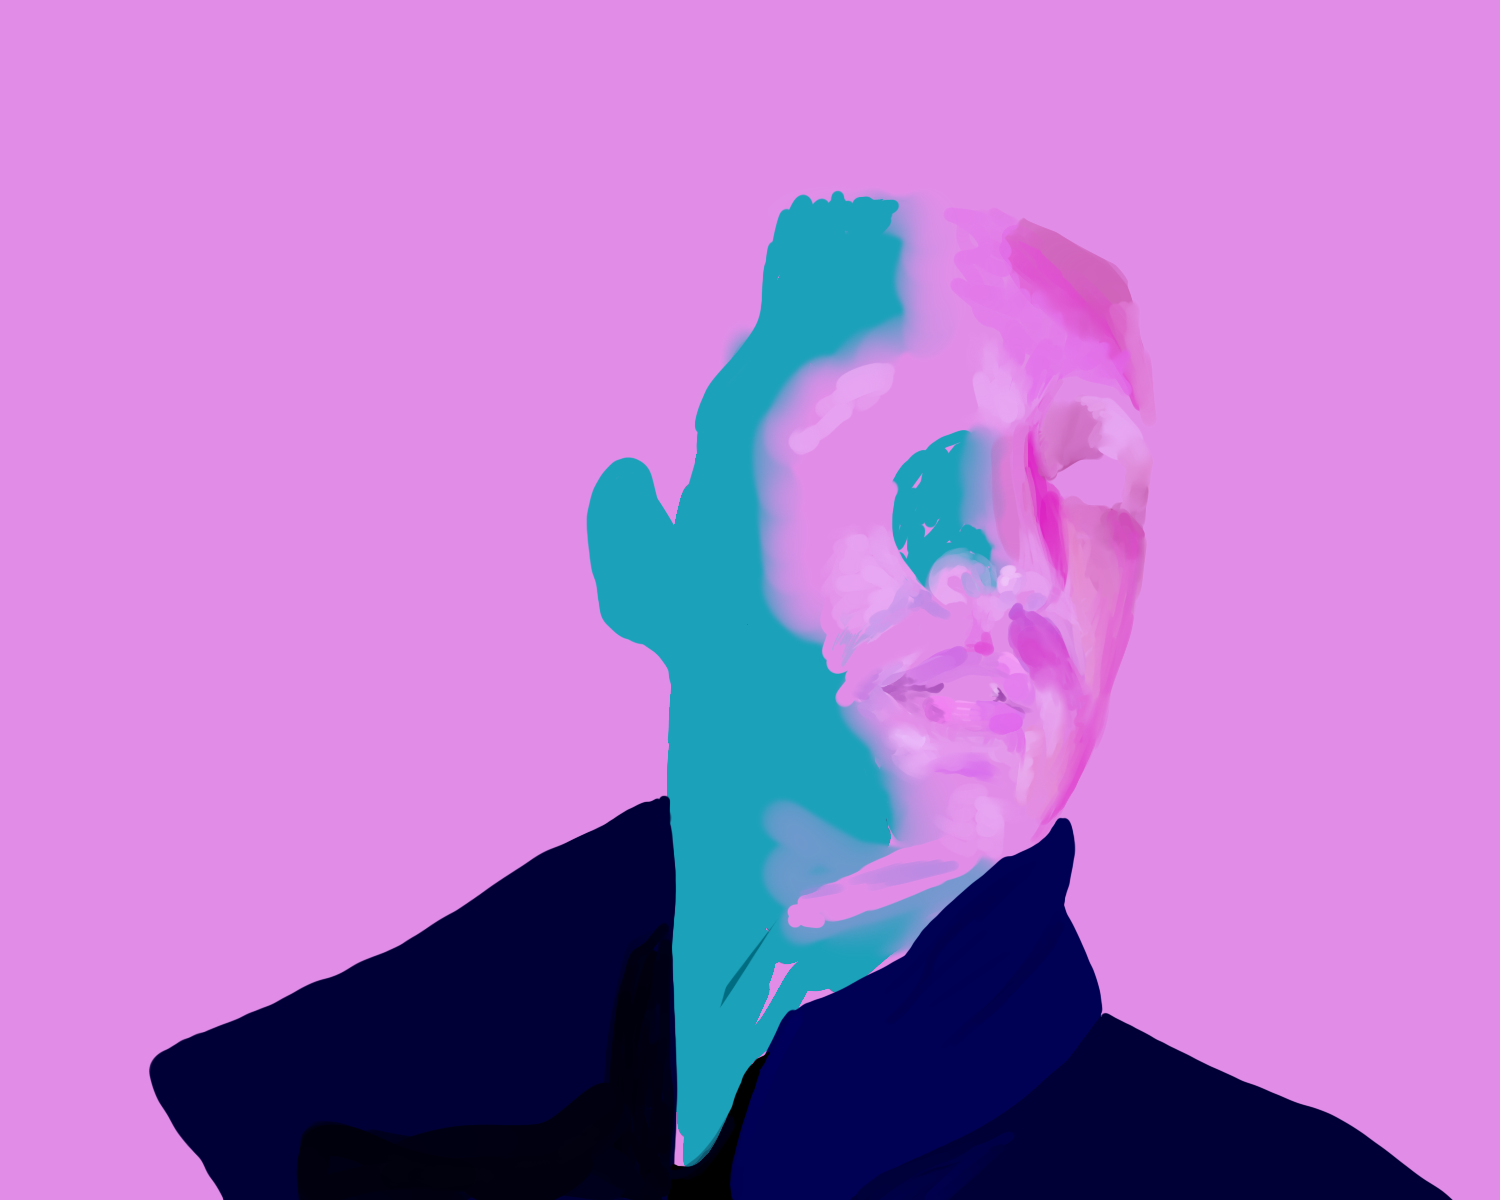
Detailing the Facial Features